Step-by-Step Guide: How to Tile a Bathroom Floor
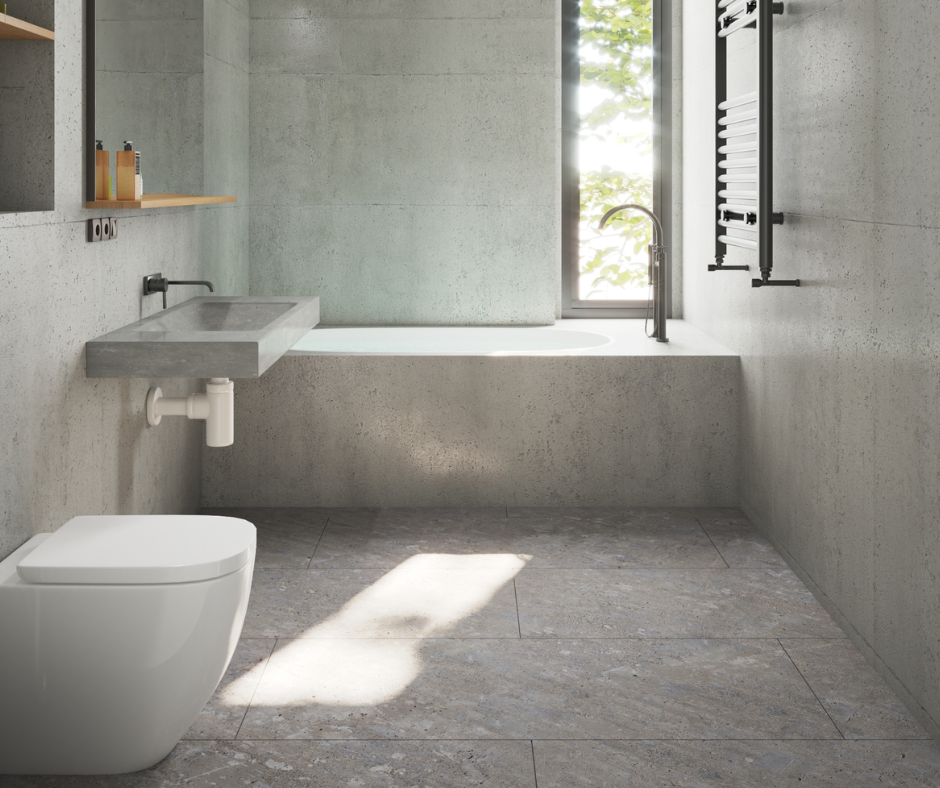
Tile is an incredible flooring material for South Florida homes and a new tile bathroom floor is one of the most transformative home projects you can complete! We love that inspired tile floors provide a durable, waterproof surface that helps define the entire bathroom’s style.
While it requires patience and precision, breaking the tile installation process into 4 key stages makes it manageable for a dedicated DIYer. It’s time to explore the ins and outs of tile installation and create the bathroom of your dreams with Dolphin Carpet & Tile…
4 Key Steps of Tile Installation
Tile Installation Step 1: Preparation
The bathroom is a wet environment, so proper subfloor preparation is non-negotiable for preventing future cracks and water damage.
- Remove the Old Floor: Carefully remove existing flooring down to the subfloor (plywood or concrete). Check the subfloor for any water damage, replacing soft or warped sections with 3/4-inch tongue-and-groove plywood.
- Ensure a Level Surface: Tile requires a flat and level surface. Use a level and, if needed, apply a self-leveling compound to fill in any significant dips or low spots. Allow the compound to cure fully.
- Install the Underlayment: For stability and waterproofing, you must install an appropriate underlayment.
- Cement Backer Board: A traditional and strong option. Screw the backer board to the subfloor (following the manufacturer’s pattern) and seal all seams with fiberglass mesh tape and thin-set mortar.
- Uncoupling Membrane: A modern, flexible option that helps prevent subfloor movement from causing cracks in the tile above. Skim out unmodified thin-set on the subfloor, press the membrane into the wet thin-set, and let it cure.
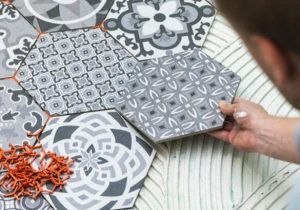
Tile Installation Step 2: Design & Dry-Fit
A great layout minimizes difficult cuts and maximizes the visual appeal.
- Find the Center: Use a tape measure and a chalk line or laser level to find the center point of the room. This is your starting reference, as it ensures even, balanced cuts around the perimeter.
- Dry-Fit the Layout: Lay the tiles out on the floor without mortar, using spacers to mimic the grout lines. Start from your center line and work outward. Adjust the starting point so that cuts along the most visible walls or doorways are not sliver-thin or awkward. The ideal scenario is that your smallest cuts are at least half a tile wide.
- Cut Door Jambs: If necessary, use an oscillating multi-tool to cut a small amount off the bottom of the door jambs so your tiles can slide underneath for a professional, seamless look.
Tile Installation Step 3: Setting the Tile
Work in small, manageable sections to prevent the thin-set from drying prematurely.
- Mix Thin-Set: Mix the thin-set mortar according to the manufacturer’s instructions. Consistency should be like thick peanut butter.
- Spread the Mortar: Using the straight edge of your trowel, press a layer of mortar onto a small, 2’x2′ section of the floor. Then, use the notched edge of the trowel to create uniform ridges in the mortar.
- Place the Tiles: Gently press each tile into the thin-set, giving it a slight twist to ensure full contact (100% coverage is essential, especially in wet areas). Insert spacers immediately.
- Check for Lippage: As you go, use a level or a specialty tool to check that the surface of adjacent tiles is perfectly flush (no lippage—where one edge is higher than the other).
- Clean as You Go: Immediately wipe away any thin-set mortar that squishes up through the grout lines or gets onto the tile surface with a damp sponge.
- Cure Time: Once all tiles are laid, do not walk on the floor for at least 24 to 48 hours.
Tile Installation Step 4: Grouting & Sealing
- Apply Grout: Remove all spacers. Mix your grout. Using a rubber float, scoop the grout onto the tiles and push it down firmly into the spaces, holding the float at a 45-degree angle.
- Sponge Cleanup: Wait for the grout to haze slightly (follow the package directions), then use a large, damp grout sponge to wipe away the excess grout from the tile surface. Rinse your sponge often.
- Caulk the Seams: After the grout cures (usually 72 hours), apply 100% silicone caulk where the floor meets the wall, shower curb, or vanity. Never use grout in these change-of-plane joints, as it will crack with movement.
- Seal (If Needed): If you used a natural stone or non-porcelain tile, apply a high-quality sealant to protect the tile and grout lines from moisture and staining.
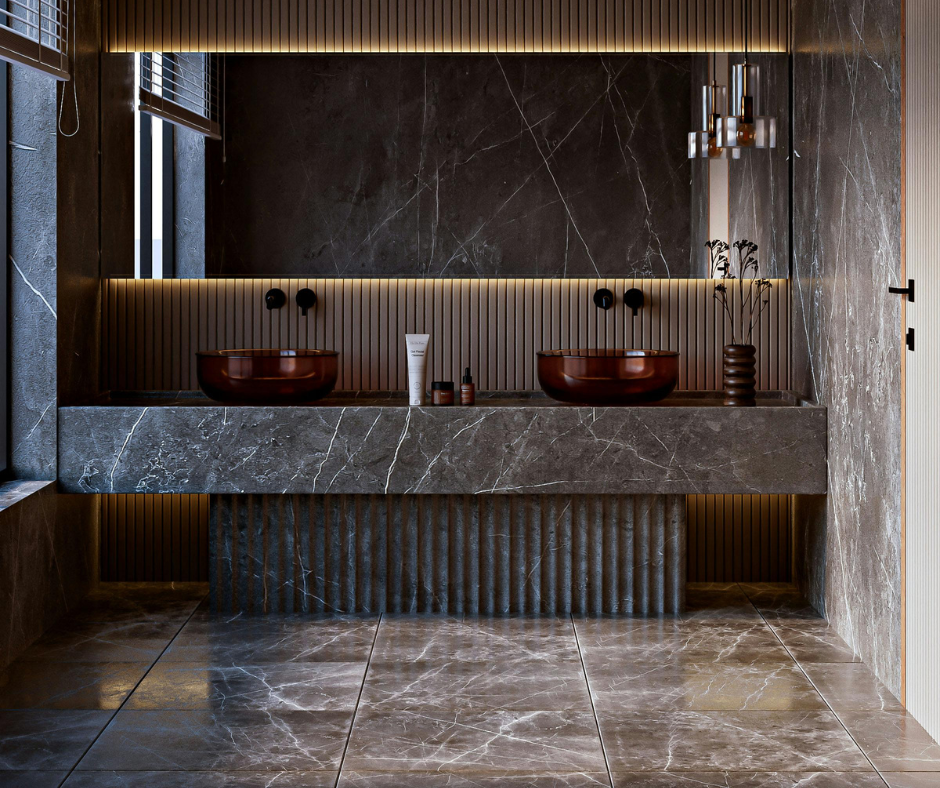
Top Bathroom Tile Selection in South Florida
By carefully following these steps, you will ensure a durable, beautiful, and waterproof bathroom floor installation. Contact us or visit one of our flooring stores throughout Florida for quality tile flooring in South Florida. Our dedication to customer satisfaction has helped us grow into a market leader. We want all of our customers, past and present, to know that we appreciate their business.
Our Showroom Locations Include: Coral Springs, FL, Davie, FL, Deerfield Beach, FL, Doral, FL, Fort Lauderdale, FL, North Miami, Florida, Pembroke Pines, FL, Pinecrest-Palmetto Bay, FL, and West Kendall, FL.